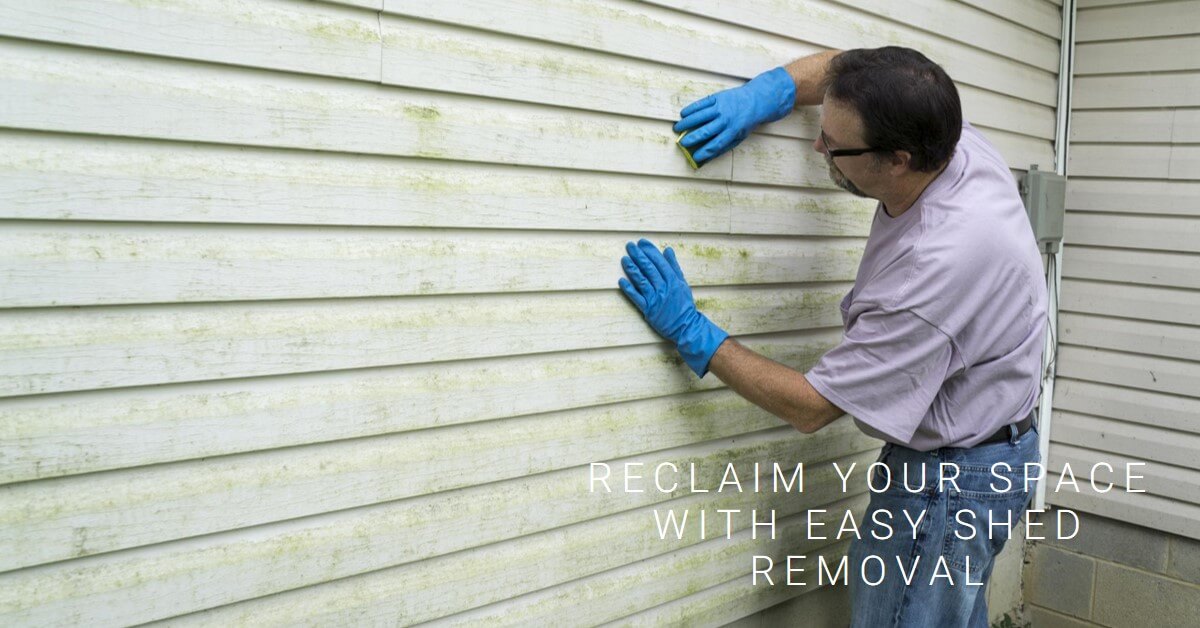
If you have an old, worn-out shed taking up valuable space in your yard, it’s time to consider shed removal. Many homeowners find themselves in this predicament, unsure of where to start or how to go about reclaiming their outdoor space. In this article, we’ll guide you through the process of shed removal, step by step, making it easier than you ever thought possible.
Assessing the Situation
Before you dive into shed removal, it’s essential to assess the situation. Take a close look at your shed and its surroundings. Ask yourself the following questions:
1. What’s the Condition of the Shed?
Begin by evaluating the state of your shed. Is it structurally sound, or is it falling apart? Knowing the condition will help you determine the best approach for removal.
2. What Are Your Future Plans for the Space?
Consider what you want to do with the space once the shed is gone. Are you planning to create a garden, build a new structure, or simply enjoy the extra room in your yard? Your future plans will influence the removal process.
3. Do You Have the Necessary Tools and Equipment?
Shed removal can be physically demanding, so ensure you have the right tools and equipment. This may include a crowbar, sledgehammer, saw, gloves, and safety goggles.
Steps for Shed Removal
Now that you’ve assessed the situation, let’s delve into the steps for shed removal:
Step 1: Empty the Shed
Before you start dismantling the shed, remove all the contents. This includes any tools, equipment, and personal belongings. Emptying the shed makes it easier to work on the structure and ensures nothing valuable gets damaged during the removal process.
Step 2: Disconnect Utilities
If your shed has any electrical or plumbing connections, disconnect them safely. This step is crucial for your safety and prevents damage to utility lines during removal.
Step 3: Remove the Roof
Start at the top by removing the roof. Use a crowbar or a pry bar to lift the roofing material away. Be cautious, as there may be nails or screws holding it in place. Once the roof is off, set it aside for disposal.
Step 4: Dismantle the Walls
With the roof removed, it’s time to take apart the walls. Start by removing any doors and windows. Then, use a sledgehammer or a saw to carefully disassemble the walls section by section. Be sure to wear protective gear, including gloves and safety goggles, as this can be a dusty and potentially hazardous task.
Step 5: Salvage Reusable Materials
As you dismantle the shed, keep an eye out for any materials that can be salvaged or recycled. This might include lumber, roofing materials, or even metal fixtures. Recycling these materials is not only environmentally responsible but can also save you money on disposal costs.
Step 6: Dispose of Debris
Once the shed is completely dismantled, you’ll be left with a pile of debris. Depending on the size of your shed, you may need to rent a dumpster or hire a waste removal service to dispose of the debris properly. Make sure to follow your local regulations and disposal guidelines.
Step 7: Prepare the Ground
After the shed is gone, you’ll need to prepare the ground for your future plans. This may involve removing any remaining debris, leveling the area, and possibly adding new landscaping features.
Tips for a Smooth Shed Removal
To ensure a smooth shed removal process, consider these additional tips:
1. Seek Professional Help if Necessary
If your shed is exceptionally large, in poor condition, or if you lack the necessary tools and expertise, it may be best to hire a professional demolition and removal service. They can efficiently and safely handle the entire process.
2. Check for Permits
Before starting your shed removal project, check with your local municipality to see if you need any permits or approvals. Regulations can vary depending on your location and the size of the structure.
3. Recycle and Reuse
Whenever possible, recycle or reuse materials from your old shed. This not only reduces waste but can also save you money on purchasing new materials for future projects.
4. Plan for the Future
As mentioned earlier, consider your future plans for the space. Whether you’re creating a garden, building a new structure, or simply enjoying the open space, having a clear vision will guide your removal efforts.
5. Safety First
Always prioritize safety during shed removal. Wear appropriate safety gear, work with a partner if possible, and be cautious when handling tools and materials.
Conclusion
Shed removal doesn’t have to be a daunting task. By following the steps outlined in this guide and considering the tips provided, you can reclaim your outdoor space with ease. Whether you’re looking to make way for a new project or simply want to enjoy a clutter-free yard, shed removal is a manageable and rewarding endeavor. So, roll up your sleeves, gather your tools, and get ready to reclaim your space!
Remember that shed removal, like any DIY project, requires time, effort, and patience. It’s also an opportunity to learn new skills and gain a sense of accomplishment. However, if you find that the project is beyond your capabilities or too time-consuming, don’t hesitate to seek professional help. Demolition and removal services are well-equipped to handle even the most challenging shed removals.
As you embark on your shed removal journey, keep in mind that you’re not just reclaiming physical space; you’re also creating a more organized and aesthetically pleasing environment. Whether you plan to cultivate a beautiful garden, build a new outdoor living area, or simply enjoy the open space, shedding your old shed is the first step towards achieving your goals.
In the end, shed removal made easy can be a satisfying and rewarding experience. So, gather your tools, enlist the help of a friend or family member, and get started on the path to a revitalized outdoor space. With the right approach, you’ll soon be enjoying the benefits of your efforts, whether it’s a serene garden retreat, a functional workspace, or simply a cleaner and more spacious yard.