When it comes to enhancing the elegance of your artwork or photographs, a well-designed gold picture frame can make all the difference. Whether you’re a professional artist or someone who simply wants to display cherished memories, learning how to design a captivating gold picture frame can be a rewarding endeavor. In this guide, we’ll walk you through the process, step by step, ensuring you create a piece that exudes sophistication and beauty.
Gathering Your Materials
Before you begin designing your gold picture frame, gather all the necessary materials. This includes a frame molding, matting, glass or acrylic, backing board, glazing tape, mounting hardware, and a saw for cutting the frame to size. Before you start the exciting process of designing your elegant gold picture frame, it’s essential to gather all the necessary materials. This preparation ensures that your frame-making journey goes smoothly and that you have everything you need at your fingertips. Here’s a list of items you’ll need.
Gathering these materials upfront not only saves you time during the design process but also ensures that you can work seamlessly through each step. Once you have everything ready, you’re all set to embark on the journey of creating your exquisite gold picture frame that will beautifully showcase your artwork or cherished photograph.
Choosing the Right Frame Style
The style of the frame should complement your artwork or photograph. Decide whether you want a classic, ornate, or modern frame design, keeping in mind the overall aesthetics you wish to achieve. Selecting the perfect frame style is a crucial step in designing your gold picture frame. The frame style you choose will significantly impact the overall look and feel of your artwork or photograph. It’s important to consider the aesthetics you want to achieve and how the frame will complement the piece it surrounds.
Remember, the frame style you choose is a creative decision that allows you to add your personal touch to the artwork. By carefully considering the style that aligns with your vision, you’ll create a frame that not only enhances your artwork but also becomes an integral part of its storytelling.
Selecting the Perfect Gold Shade
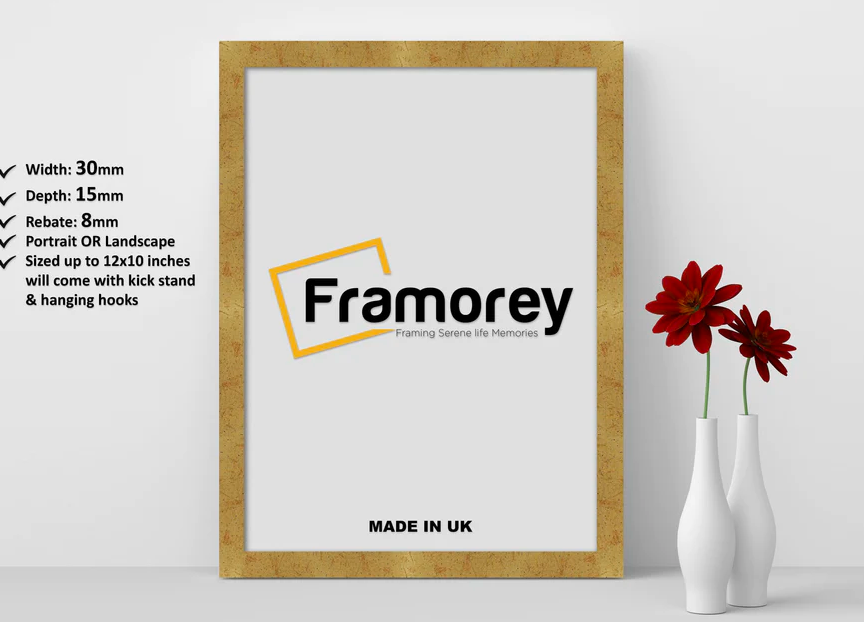
Gold frames come in various shades, from warm yellows to rich antiqued tones. Choose a shade that harmonizes with the colors in your artwork while also considering the room’s decor. Read More
When it comes to designing a gold picture frame, the shade of gold you choose can make a significant impact on the overall aesthetic of the piece. Gold frames come in a range of shades, from warm and vibrant to subdued and antiqued. Selecting the perfect gold shade involves considering both the artwork itself and the surrounding environment where it will be displayed. Here are some factors to guide your decision:
Artwork Colors: Take a close look at the colors present in your artwork or photograph. Choose a gold shade that complements and enhances these colors. A warm gold tone can work well with warm color palettes, while a cooler shade might suit cooler tones.
Ambiance and Decor: Consider the atmosphere of the room where your framed piece will be showcased. If the room has a cozy and traditional vibe, an antiqued gold shade can add a touch of vintage charm. For modern settings, a bright and gleaming gold can provide a contemporary flair.
Measuring and Cutting the Frame
Measure the dimensions of your artwork or photo accurately. Using a miter saw, cut the frame molding at 45-degree angles to create the corners of the frame.
The precision of measuring and cutting is pivotal in creating a professional-looking gold picture frame that beautifully showcases your artwork or photograph. Here’s a step-by-step guide to ensure accurate measurements and precise cuts:
Measure Twice, Cut Once: Before you begin cutting, measure the dimensions of your artwork carefully. Measure both the height and width, and write down the measurements to avoid confusion.
Add Allowance: Add a small allowance (usually around 1/8 inch) to each side of your measurements. This ensures that your artwork fits comfortably within the frame without being too snug.
Select the Right Miter Angle: Gold picture frames are typically joined at 45-degree angles, creating neat corners. Adjust your miter saw to the correct angle before cutting.
Mark the Molding: Mark the measurements you’ve calculated on the frame molding. Use a pencil to make clear, visible marks on the back of the molding.
Safety Gear: Before cutting, put on safety goggles and other appropriate safety gear to protect yourself from any flying debris. Cutting: Carefully align the marked lines with the blade of the miter saw. Hold the molding securely and make the cut. Repeat this process for all four pieces of the frame molding.
Check for Accuracy: Once all the pieces are cut, lay them out to ensure they match up correctly. Use a framing square to check that the angles are exactly 45 degrees.
Sand and Smooth: Use fine-grit sandpaper to smooth any rough edges or imperfections on the cut ends of the molding. This will ensure clean and precise joints.
Remember that measuring and cutting accurately is essential for creating a seamless and well-fitting frame. Take your time with this step, and don’t rush through the process. By following these steps meticulously, you’ll be one step closer to crafting a gold picture frame that enhances the beauty of your artwork while showcasing your attention to detail.
Adding Hanging Hardware
Attach appropriate hanging hardware to the back of the frame, considering the weight of the piece. This ensures easy and secure wall mounting.
Final Touches and Quality Check
Inspect the frame for any imperfections or dust particles. Clean the glazing and make any necessary touch-ups before proceeding.
Showcasing Your Framed Piece
Choose a prime location to hang your framed artwork. Ensure proper lighting to highlight the piece and its intricate details.
Conclusion
Designing a gold picture frame is a creative journey that combines artistic sensibilities with craftsmanship. The right frame can transform your artwork into a masterpiece that captivates viewers and adds a touch of luxury to any space.


